
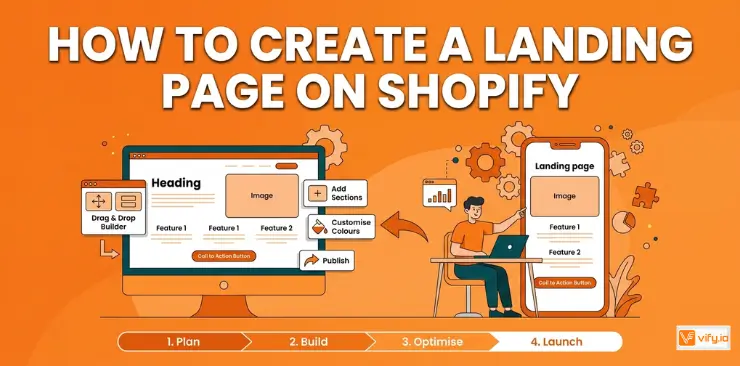
Did you know that landing pages convert at an average of 9.7% — compared to just 2% for a typical homepage? If you’re running paid ads, launching a product, or running a seasonal promotion, sending traffic to your homepage is one of the most common (and costly) mistakes Shopify merchants make. A dedicated landing page fixes that. It removes distractions, speaks directly to one audience, and drives a single action. In this guide, you’ll learn exactly how to create a landing page on Shopify — step by step.
What is a Shopify Landing Page?
A Shopify landing page is a standalone web page on your store, built around a single marketing goal. Unlike your homepage (which speaks to everyone) or a product page (which lists features and specs), a landing page is laser-focused on converting a specific visitor for a specific reason.
Learning how to create a Shopify landing page is one of the highest-ROI skills for any store owner running any form of paid or promotional marketing.
Landing Pages vs. Product Pages vs. Home Page
| Landing Page | Product Page | Homepage | |
|---|---|---|---|
| Purpose | Drive a single conversion | Present product details | Welcome all visitors |
| Traffic source | Paid ads, email, campaigns | Organic search, internal links | Direct, brand traffic |
| CTA | One focused action | Add to Cart | Multiple directions |
| Distractions | Minimal (often no navigation) | Standard navigation | Full navigation |
When should you use a Landing Page on Shopify?
Landing pages work best in situations where you control the traffic source and need to match a visitor’s specific intent:
- Paid advertising — Google Ads, Meta (Facebook/Instagram), TikTok Ads. Your ad promises something specific; your landing page delivers on that exact promise.
- Product or collection launches — create buzz and a dedicated conversion path for something new.
- Seasonal promotions and flash sales — Black Friday, holiday campaigns, limited-time offers with countdown timers.
- Email capture/lead generation — offer a discount, free guide, or exclusive access in exchange for an email address.
- Influencer or affiliate campaigns — give partners a custom URL that tracks conversions and fits their audience messaging.
How to Create a Landing Page on Shopify
There’s no single right way to create a landing page in Shopify — the best method depends on your technical comfort, budget, and design needs. Here are the three main approaches:
1. Using Shopify’s Built-in Pages + Theme Editor (Free)
If you’re on a budget or just getting started, Shopify‘s native toolset can get you a solid landing page without spending a hundred on apps.
Step 1: Create a new Page
From your Shopify admin, go to Online Store → Pages → Add Page. Give it a descriptive internal title (eg, “Summer Sale 2026 — Landing Page”).
Step 2: Assign a page template (if your theme supports it)
Many modern Shopify themes allow you to create custom page templates. In the Page editor, look for the Theme template dropdown on the right side. If your theme offers a “landing” or “campaign” template, select it. If not, the default template will work — you’ll just customize it in the next step.
Step 3: Customize with sections in the Theme Editor
Click Customize to open the Theme Editor. Here you can add, remove, and rearrange sections — think hero banners, image-text blocks, testimonials, and product feature lists. Drag your chosen sections into the page and configure each one.
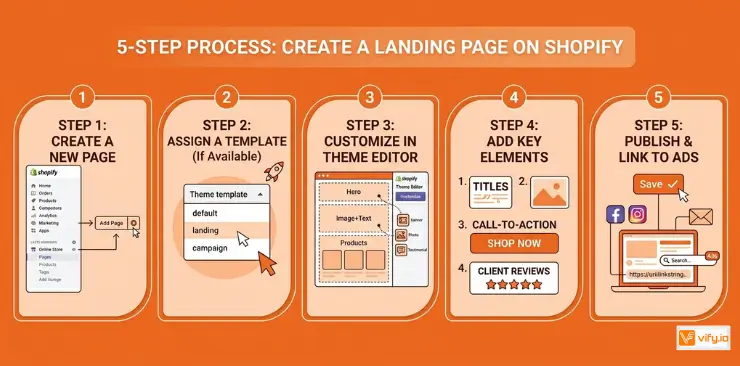
Step 4: Add your key landing page elements
At a minimum, your page should include:
- A compelling headline (your hero section)
- A product image or short video
- A clear CTA button (eg, “Shop Now,” “Claim Your Discount,” “Get Early Access”)
- Social proof — customer reviews or a trust badge row
Step 5: Publish and link from your ads
When satisfied, hit Save in the Theme Editor and Save again in the Page editor. Copy your new page’s URL and use it as the destination in your ads, email campaigns, or social posts.
2. Using a Shopify Landing Page Builder App
For merchants who want pixel-precise design control, pre-built templates, and features like A/B testing or dynamic content, a dedicated landing page builder is the way to go.
Top landing page apps for Shopify:
| App | Free Plan | Best For |
|---|---|---|
| PageFly | Yes (1 published page) | Beginners, flexible drag-and-drop |
| GemPages | Yes (limited) | Advanced layouts, AI features |
| Shogun | Paid only | Teams, A/B testing, analytics |
Step-by-step walkthrough using PageFly:
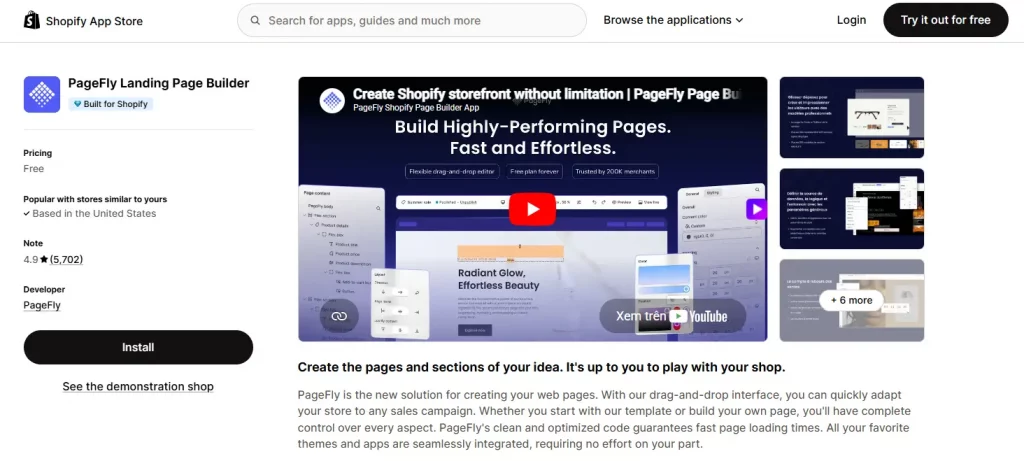
Step 1: Install PageFly
Go to the Shopify App Store, search for “PageFly,” and click Install. Follow the installation prompts. Once installed, PageFly will appear in your Shopify admin sidebar.
Step 2: Create a new page
Open PageFly and click Add New Page. Select Landing Page as the page type, then choose a template from their library — they offer dozens of professionally designed options sorted by industry and goal (product launch, lead gen, sale, etc.).
Step 3: Customize with the drag-and-drop editor
You can drag elements (text blocks, images, countdown timers, product widgets, testimonials, video embeds) directly onto the canvas. Click any element to edit its content, style, and spacing.
Key customizations to make:
- Set a strong, benefit-led headline
- Upload a high-quality hero image or embed a product video
- Add a product block connected to your Shopify catalog (so the “Add to Cart” button is live)
- Insert a countdown timer if running a limited-time offer
- Add testimonial or review widgets for social proof
Step 4: Configure mobile view
Click the mobile icon in the top bar to switch to the mobile editor. Check that all elements are readable and properly stacked. PageFly allows you to hide certain elements on mobile or adjust font sizes independently.
Step 5: Publish and link
Hit Publish. PageFly will create the page under your store’s domain (eg, yourstore.com/pages/your-page-name). Use this URL in your ad campaigns.
3. Using a Shopify-Compatible Theme with Landing Page Templates
Some premium Shopify themes come with built-in landing page templates that are far more flexible than the default page editor, without requiring an additional app.
Themes known for strong landing page support:
- Dawn (free, Shopify default) — supports custom page templates via Online Store 2.0 sections
- Impulse (paid, Archetype) — includes campaign and collection landing templates
- Turbo (paid, Out of the Sandbox) — highly optimized, advanced section layouts
- Prestige (paid, Maestrooo) — great for luxury/fashion brands with editorial landing pages
Recommendation: Discover Top 12 Best Free Shopify Templates.
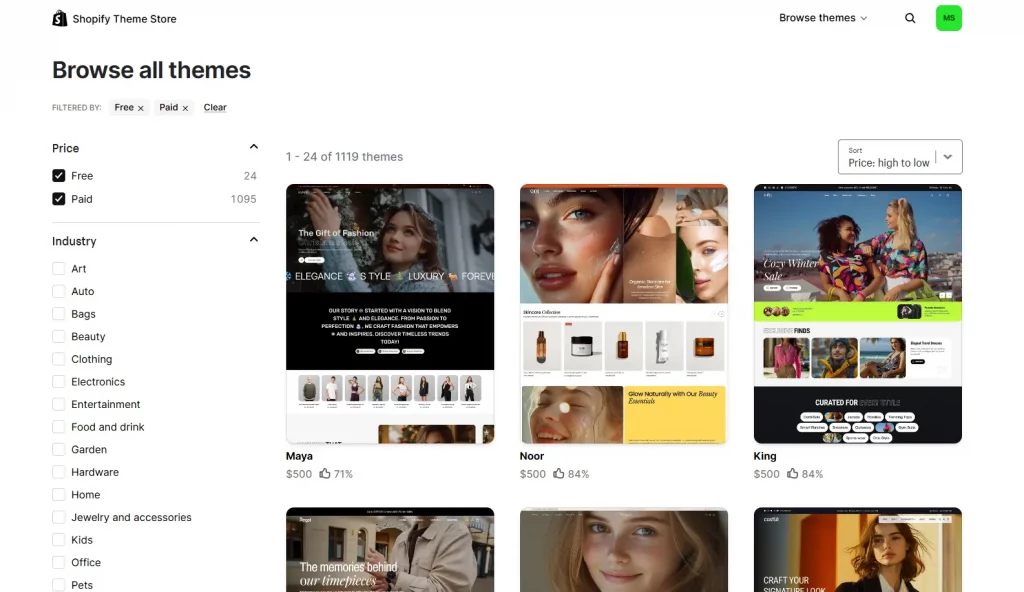
- In your Shopify admin, go to Online Store → Themes → Customize
- Click the Pages dropdown in the top bar and select Create template
- Name the template (eg, “campaign-summer-2026”) and build it using available sections
- Assign this template to your landing page from Online Store → Pages
This approach gives you design flexibility without the ongoing cost of a third-party app. It works best when your theme already has the sections you need.
How to design a High-Converting Shopify Landing Page
It’s only half the job to create a landing page in Shopify. The design and copy choices you make will determine whether visitors convert or bounce. Here’s the essential elements every Landing Page should have:
1. A strong, benefit-led headline above the fold
Your headline is the first (and sometimes only) thing visitors read. It should communicate your value proposition in one sentence — ideally addressing the visitor’s problem or desire directly. Example: “Get Glowing Skin in 30 Days — Or Your Money Back.”
2. A hero image or product video
Visuals drive purchase confidence. Use high-resolution product photography or a short demo video (30–60 seconds). Video landing pages can increase conversions by up to 80%, according to various industry studies.
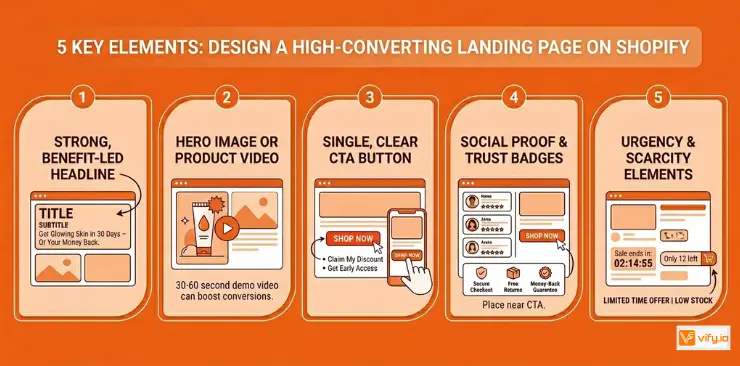
3. A single, clear CTA button
Every landing page should have one primary call to action. Use action-oriented copy (“Shop Now,” “Claim My Discount,” “Get Early Access”) and make the button visually prominent — high-contrast color, large enough to tap on mobile.
4. Social proof: reviews, testimonials, trust badges
Include 3–5 real customer reviews with names and photos if possible. Add trust badges (secure checkout, free returns, money-back guarantee) near the CTA button — this is where purchase anxiety is highest.
5. Emergency and scarcity elements
Limited-time offers with a countdown timer, low-stock indicators (“Only 12 left”), and exclusive deal messaging all increase conversion rates by triggering decision-making.
Conclusion
Learning how to create a landing page on Shopify is one of the most valuable skills for any ecommerce merchant looking to improve conversions, run more effective campaigns, and maximize the return on paid traffic. The highest-converting pages are rarely the most complicated — they are the most intentional. Strong headlines, compelling visuals, social proof, and a clear CTA will almost always outperform cluttered designs packed with distractions.
Ultimately, whether you want to create a landing page Shopify stores can use for product launches, seasonal promotions, or lead generation campaigns, the right setup can dramatically improve your marketing performance. Once you understand how to create a Shopify landing page strategically, you’ll be able to build campaigns that not only attract visitors but turn them into paying customers consistently.
If you’re selling on Shopify and need a professional invoice solution, then Vify Shopify Order Printer app is the best choice for you. Try it for free today and experience it for yourself. We’re confident you’ll love it.