

Getting started with eCommerce can feel overwhelming, especially if you’re unsure where to begin. If you’re looking for how to set up a Shopify store, this guide will walk you through everything in a clear and practical way. From account creation to launching your store, you’ll learn how to set up a Shopify store step by step without technical complexity. By following these instructions, you can quickly set up a Shopify store, avoid common mistakes, and start selling with confidence.
Why Shopify?
Before you set up a Shopify store, it helps to understand why it’s the right platform for most sellers. Shopify powers over 4.6 million businesses worldwide and is trusted by brands of every size — from solo makers to publicly traded companies.
Here’s why Shopify stands out:
- Easy to use — No coding skills needed. Everything is drag-and-drop.
- Fully hosted — Shopify handles servers, security, and updates for you.
- Mobile-ready — All themes are optimized for mobile shoppers by default.
- Built-in payments — Accept credit cards instantly with Shopify Payments (and other third-party gateways).
- Massive app ecosystem — Over 18,000 apps for marketing, inventory, shipping, and more.
- 24/7 support — Live chat, email, and phone support around the clock.
How to set up a Shopify Store — Step by Step
Step 1: Create your Shopify Account
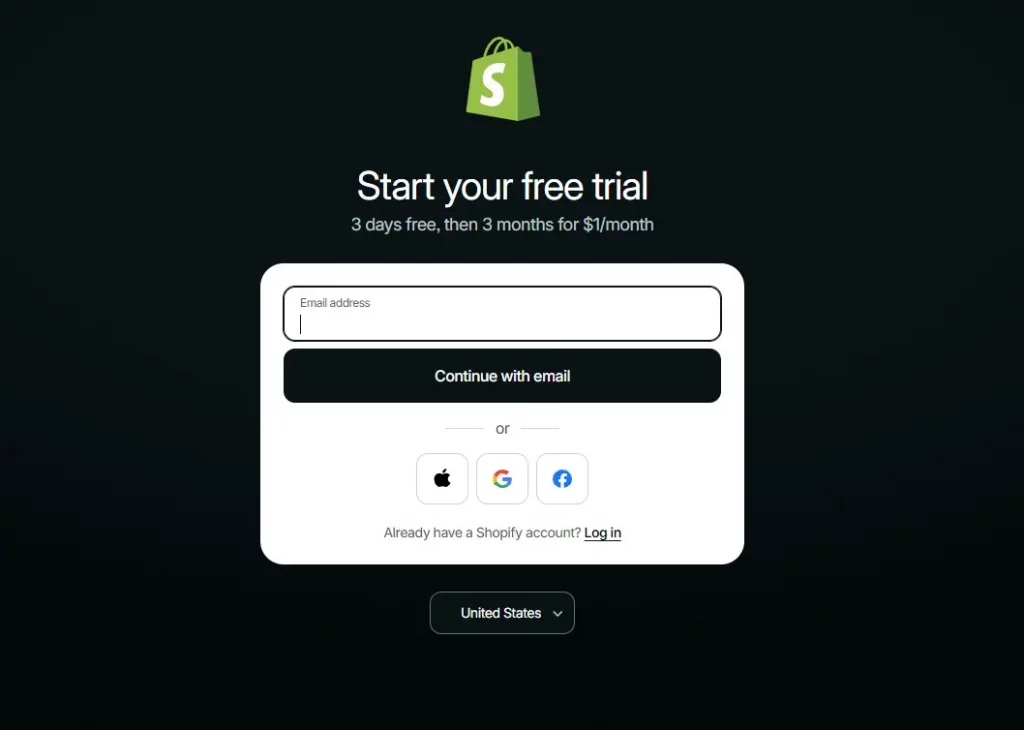
Go to shopify.com and click “Start for free”. You’ll be asked to enter:
- Your email address
- A password
- Your store name (this can be changed later)
After signing up, Shopify will ask a few onboarding questions: what you’re selling, your current revenue level, and whether you’re setting up a store for yourself or a client. Shopify uses this to personalize your dashboard experience.
You’ll land in your Shopify Admin — the central hub for managing everything in your store.
Step 2: Choose and Customize your Theme
Your store’s theme controls how it looks to customers. Shopify offers a range of free and paid themes designed for different industries.
To access themes, go to Online Store → Themes in your Shopify admin. You’ll find the default theme already installed. To explore more:
- Click “Visit Theme Store”
- Filter by industry, layout style, or price (free/paid)
- Preview themes on desktop and mobile
- Click “Add to theme library” to install a theme
Once you’ve chosen a theme, click “Customize” to open Shopify’s drag-and-drop editor. Here you can:
- Upload your logo and set brand colors
- Edit your homepage sections (hero banner, featured products, testimonials)
- Set fonts and button styles
- Customize your header and footer
Step 3: Add your Products
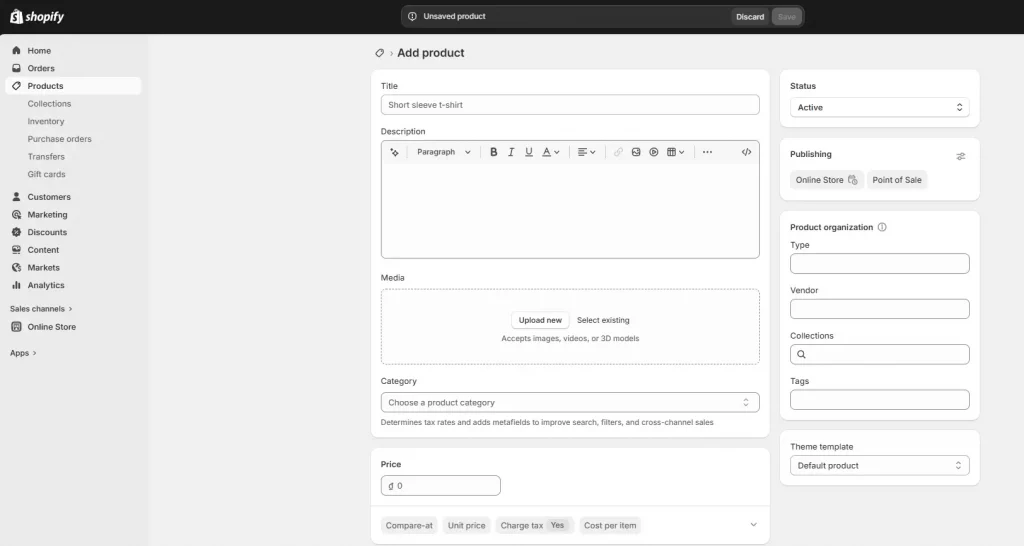
This is the point where your store can reach its target customers. Go to Products → Add product in your admin panel.
For each product, fill in:
- Title — Clear and keyword-rich (e.g., “Handmade Ceramic Mug — 12oz, Forest Green”)
- Description — Write benefits-focused copy. Include materials, sizing, use cases. Aim for 150–300 words minimum.
- Images — Upload high-quality photos. Use at least 3–5 images per product: front, back, detail, lifestyle shot.
- Pricing — Set your price and compare-at price for sale items
- Inventory — Enable inventory tracking and set your stock count
- Variants — Add options like color, size, or material if applicable
- SEO section — Customize your product’s meta title and URL handle
Organize products into Collections (e.g., “New Arrivals,” “Sale,” “Mugs”) so customers can navigate your catalog easily. Go to Products → Collections to create them.
Step 4: Set up your Custom Domain
Your free Shopify store URL is yourstore.myshopify.com — but a professional custom domain (e.g., yourbrand.com) might be more attractive and create trust to customers.
You have two options:
Option A: Buy a domain through Shopify
- Go to Online Store → Domains
- Click “Buy new domain”
- Search for your desired domain name
- Purchase it — Shopify connects it automatically
Option B: Connect an existing domain
- Go to Online Store → Domains → Connect existing domain
- Enter your domain name
- Update your DNS records with your domain registrar (Shopify provides step-by-step instructions for every major registrar)
Step 5: Configure Payment & Checkout
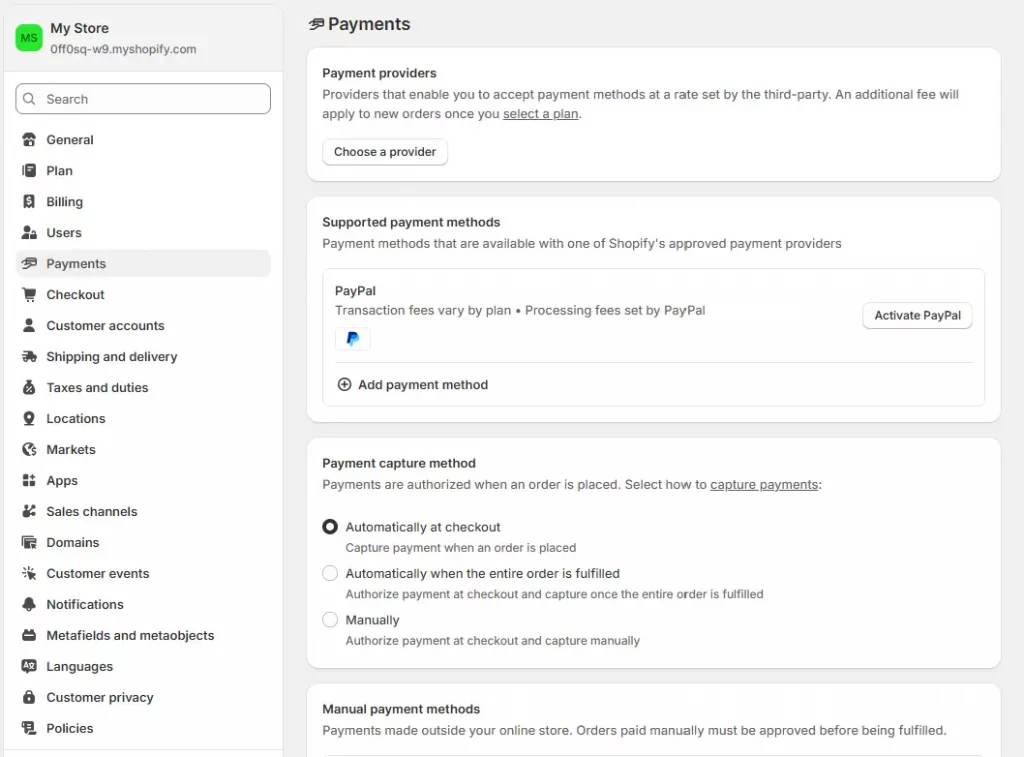
To get paid, you need to set up your payment methods. Go to Settings → Payments.
Shopify Payments is the easiest option — it’s Shopify’s built-in payment processor, powered by Stripe. It lets you accept:
- Credit and debit cards (Visa, Mastercard, Amex)
- Apple Pay & Google Pay
- Shop Pay (Shopify’s accelerated checkout)
To activate Shopify Payments, click “Complete account setup” and enter your banking details and business information.
If Shopify Payments isn’t available in your country, you can connect PayPal, Stripe, or one of 100+ supported third-party payment gateways.
Step 6: Set Up Shipping
Go to Settings → Shipping and delivery to configure how you’ll get products to customers.
Key things to set up:
- Shipping origin — The address orders ship from
- Shipping zones — Which countries/regions you ship to
- Shipping rates — Flat rate, free shipping, or carrier-calculated rates
- Local delivery/pickup — If you offer this option
Popular shipping strategies include:
- Free shipping on all orders — bake the cost into product prices
- Free shipping over a threshold (e.g., free over $50) — increases average order value
- Flat rate shipping — simple and predictable for customers
- Real-time carrier rates — available on higher Shopify plans
Step 7: Configure Taxes
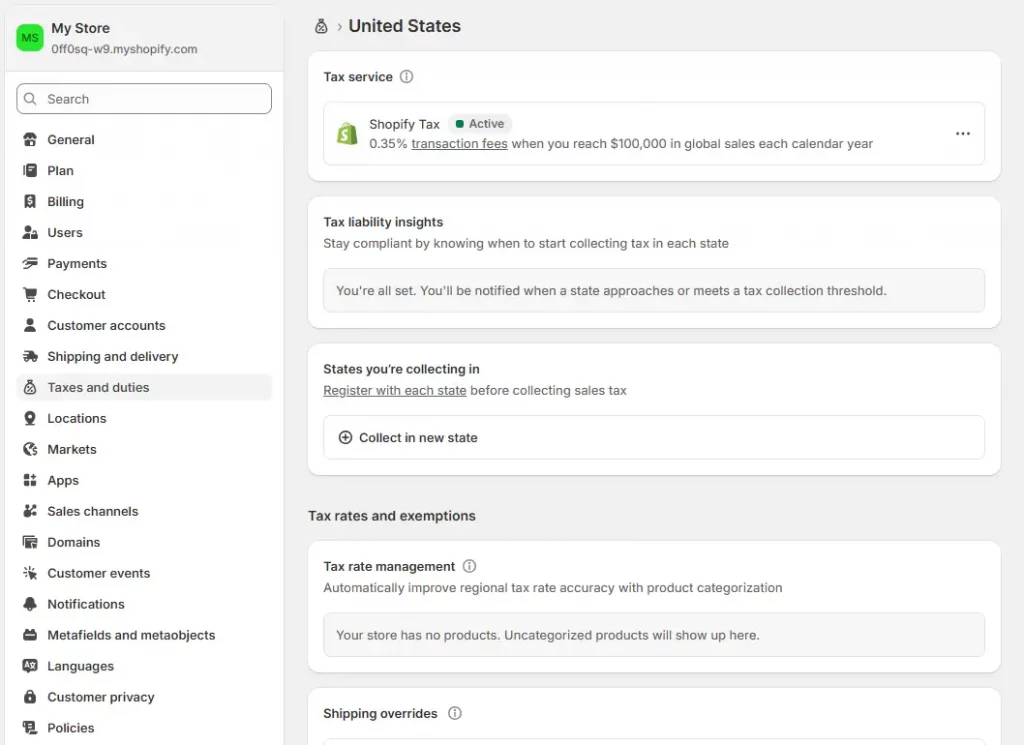
Go to Settings → Taxes and duties. Shopify can automatically calculate taxes based on your customers’ locations and your business address.
For most store owners, the setup is straightforward:
- Enable automatic tax calculation
- Set your store’s nexus (where you have tax obligations)
- Choose whether your listed prices include tax or exclude it
Step 8: Review and Launch your Store
Before removing your password and going live, do a full store review:
- Place a test order (use Shopify’s Bogus Gateway to test without a real charge)
- Check your store on mobile — at least 60% of shoppers are on mobile
- Make sure all product pages have images, descriptions, and prices
- Verify your checkout flow works end-to-end
- Check that shipping rates show correctly at checkout
- Confirm your contact page and return policy are live
- Review your About page and brand story
- Check all links in your navigation menu
When you’re ready, go to Online Store → Preferences and remove the password protection. Your store is now live 🎉
Tips for New Shopify Store Owners
Once your store is live, here are the highest-impact things to focus on next:
1. Install Google Analytics and Facebook Pixel
Understanding where your traffic comes from is essential. Connect Google Analytics 4 through Shopify’s built-in integration (Settings → Customer events) and install the Meta Pixel if you plan to run Facebook or Instagram ads.
2. Automate your Order Documents and Email Marketing
Beyond basic email marketing, setting up automated order documents is a smart way to improve both operations and customer experience. Using an order printer app, you can automatically send invoices, receipts, and order confirmations as PDF attachments — reducing manual work while making your store look more professional. Many apps also include email automation features like sending invoices after purchase or handling bulk orders efficiently.
👉 If you’re not sure which tool to choose, check out our guide on the top order printer apps for Shopify to find the best solution for your store.

3. Optimize your store for SEO
When you set up a Shopify store, basic SEO is already handled — Shopify generates sitemaps automatically and has clean URL structures. Go further by:
- Writing keyword-rich product titles and descriptions
- Adding alt text to all product images
- Creating a blog to attract organic search traffic
- Customizing meta titles and descriptions for every page
4. Use Shopify’s analytics dashboard
Go to Analytics → Dashboard to monitor sales, visitor behavior, top products, and conversion rates. Review this weekly, especially in your first few months.
Final Thoughts
Learning how to set up a Shopify store doesn’t have to be intimidating. With the right guidance, you can go from zero to a fully functional online store in just a few steps.
The hardest part isn’t the technical setup — it’s getting started. Every successful Shopify merchant began exactly where you are right now. Start your free trial, follow this guide, and take it one step at a time.
If you’re selling on Shopify and need a professional invoice solution, then Vify’s Shopify Order Printer app is the best choice for you. Try it for free today and experience it for yourself. We’re confident you’ll love it.
Good luck with your store!